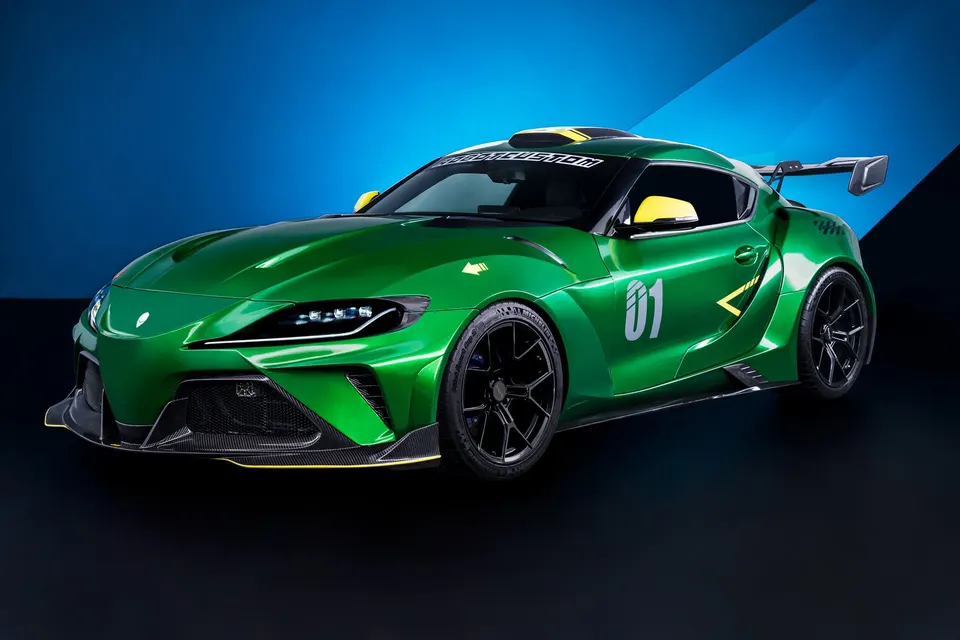
A widebody kit is not a bolt-on accessory. Where an add-on lip or diffuser mounts to the factory bumper and can be fitted in an afternoon, a widebody conversion replaces bumper covers, skirts and often fenders — and on a true conversion it involves cutting the bodywork. That difference decides who can fit it, how long it takes, and how much a shop should quote.
This guide walks through the sequence we recommend to the shops we supply, from unpacking to final alignment. Whether you are pricing the job as a shop or deciding whether to take your car in, this is the work you are paying for.
Before you start: what kind of job is this?
Two very different jobs get called "widebody", and quoting them as one is how jobs go wrong:
- Bolt-on widebody / over-fender style — new bumper covers, side skirts and fender flares that mount to the car using factory mounting points plus supplied brackets. Reversible, no cutting of the body itself, achievable for a competent shop in days rather than weeks.
- Cut-and-replace conversion — the original arches are cut back so wider panels can be bonded on. Permanent modification of the car, structural finishing required, and a much larger labour figure.
Check which one your platform falls into before quoting. On our catalog the distinction shows up in the parts list: if the listing includes *widebody front fenders* or *rear widebody fenders*, expect the arches to be part of the job. Compare Toyota GR Supra A90 Add-on aero kit (OEM body), which mounts to the OEM body, with Toyota GR Supra A90 Sea Eel Widebody Kit, which replaces the panels themselves.
Tools and workspace
- Two-post lift or a proper set of axle stands and room to walk around the car — you will be on and off panels dozens of times
- Trim removal kit, torque drivers, jack and stands for wheel-on/wheel-off checks
- Body saw, cutting discs and a dust extraction setup if arches are being cut
- Sanding blocks, guide coat, filler, primer and a spray booth or a dust-free space for paint
- Panel gap gauges or simply quality tape — consistency here is what separates a good conversion from a bad one
Budget adequate consumables. On a conversion, the cost of adhesive, filler, primer, tape and abrasive is not trivial, and running out mid-job is expensive.
Step 1: unpack and check the shipment
Large panels travel wrapped individually because their edges are the fragile part. Before anything else, unwrap every piece and inspect it. Anything found now is straightforward to resolve; anything found after paint is not.
Lay the parts out by position and check them against the packing list. Note that a widebody set arrives ready for prep rather than ready to bolt on — see the fitment step below.

Step 2: dry fit everything, before modification
This is the step people skip, and it is the one that saves money. Mount every panel loosely and walk the car: check how bumper covers meet the headlights and grille, whether skirts line up with the sill line, and how fender flares sit against the arch.
- Fit with wheels and tyres on, and again with them off if flares are involved — tyre clearance changes once the wheel is loaded
- Check left-to-right symmetry with a tape measure rather than by eye
- Resolve every gap now by adjusting mounts or trimming flanges, never by forcing a panel into position with fasteners
Once you are happy, mark mountings and panel positions so everything goes back to the same place after paint. If a part does not fit, stop and photograph it before doing anything else — fitment issues are settled at this stage, not later.
Step 3: cutting (cut-and-replace conversions only)
If your kit involves cutting the arches, this is the point of no return. Measure twice: mark the cut line, check it against the flare that has to cover it, and leave yourself margin — you can remove more material, you cannot put it back.
After cutting, protect the exposed metal properly. Bare steel left under a bonded flare will rust from the inside out, and by the time it shows on the outside the repair is large. Prime or seam-seal every cut edge before anything is bonded.
Step 4: mounting — bonding versus bolting
Follow whichever method the specific part was designed around. Add-on pieces generally pick up factory hardware; replacement panels usually combine fasteners at the original mounting points with adhesive or a bonding flange along the seams.
- Torque fasteners evenly and in sequence so panels do not warp inwards
- Use a flexible panel adhesive, not a rigid one — body panels move
- Support bonded panels while the adhesive cures; clamping and taping is part of the job, not an afterthought
Step 5: prep and paint
FRP panels arrive sanded and ready for prep; carbon panels being painted need their clear coat treated appropriately first. Work through your normal sequence — sand, guide coat, fill pinholes, prime, block flat, then paint.
Paint the car and panels together wherever possible. Colour match on composites is affected by how the substrate takes the paint, and spraying panels off the car alongside the shell is the most reliable way to get panels that match in daylight.
Step 6: reassemble and align
Wheel and tyre geometry changes when track width changes, so the alignment is not optional — it is the last step, not an extra.
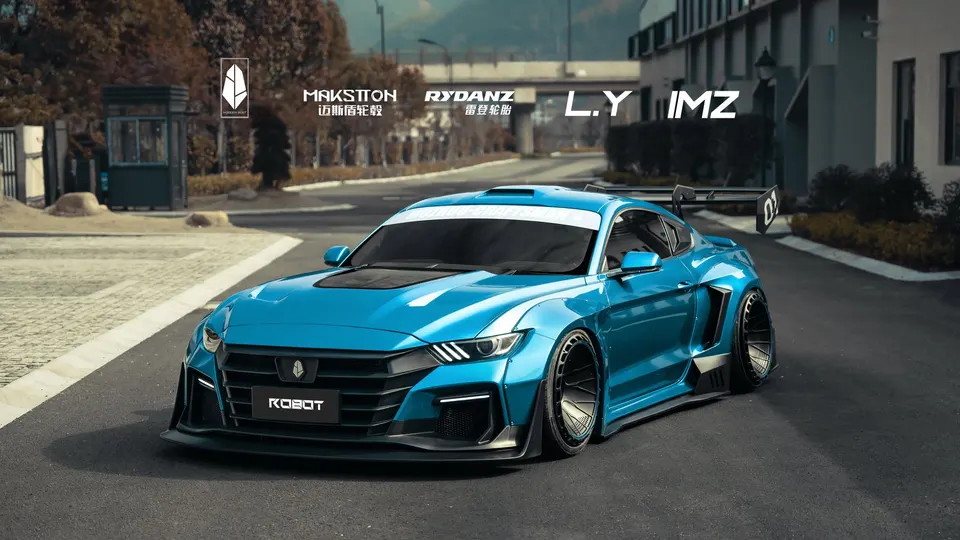
- Refit panels using the marks made at dry fit
- Check every fixing after the first road test, and again after a few hundred kilometres
- Set alignment to suit the new track width and ride height
- Re-check flare-to-tyre clearance at full lock and under compression
What shops should quote for
The parts price is the visible half of the job. Labour is where quotes commonly go wrong, because a conversion involves work that is hard to estimate until the panels are on the car.
| Item | Why it belongs in the quote |
|---|---|
| Dry fit and adjustment | The bulk of the labour on a bolt-on kit |
| Cutting and metal finishing | Permanent modification; needs rust protection and finishing |
| Prep and paint | Every FRP panel needs prep; paint cost scales with parts count |
| Consumables | Adhesive, filler, primer, tape and abrasive add up fast |
| Alignment | Track width change makes this mandatory, not optional |
| Compliance check | Rules differ by market — see below |
Compliance: rules on body modification, track width and protruding parts differ between countries and even between states. That check belongs with whoever fits the kit, and these parts are sold as aftermarket styling components. We do not claim any third-party or OEM certification for them.
Costs and labour, honestly
Labour hours vary enormously with the car, the kit and whether cutting is involved, so any single number would be misleading. What we can say with confidence is that the parts are usually the smaller half of a conversion budget once paint and panel labour are counted — which is why the FRP-versus-carbon decision should be made knowing what the paint bill will be.
Ask what a shop has fitted before. A shop that has done conversions will talk about dry fitting, panel gaps and rust protection without being prompted; if none of that comes up, keep looking.
Kits to look at

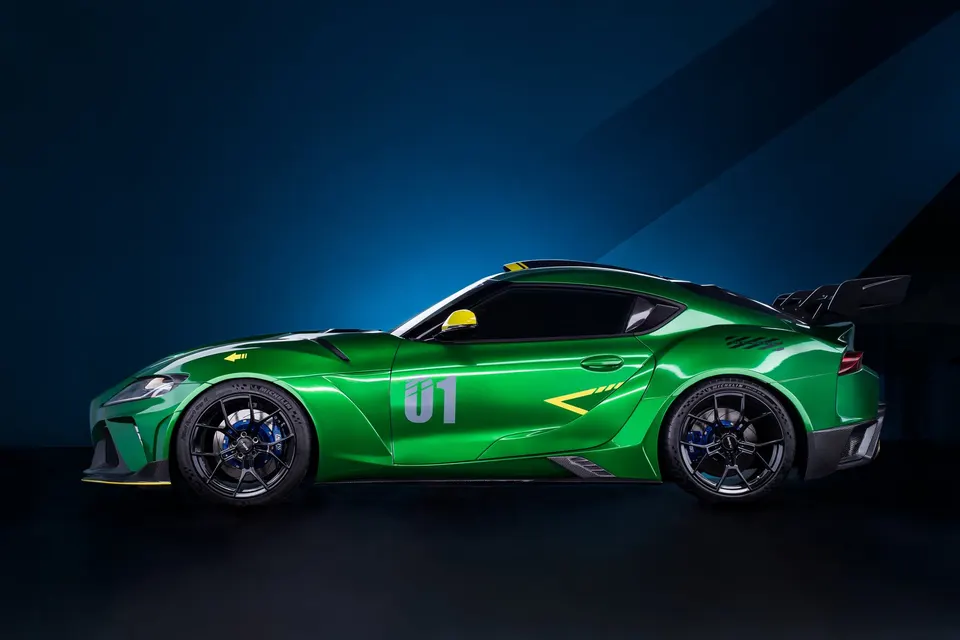
Toyota GR Supra A90 Sea Eel Widebody Kit
Toyota GR Supra A90 (2021-)
FRP $9,514 / Carbon $16,543


BMW M4 G82 (2021+) Widebody Kit
BMW M4 G82 (2021+)
Carbon $8,484


Tesla Model 3 Highland Hacker Widebody Kit
Tesla Model 3 Highland (2023-)
FRP $3,629 / Carbon $5,243
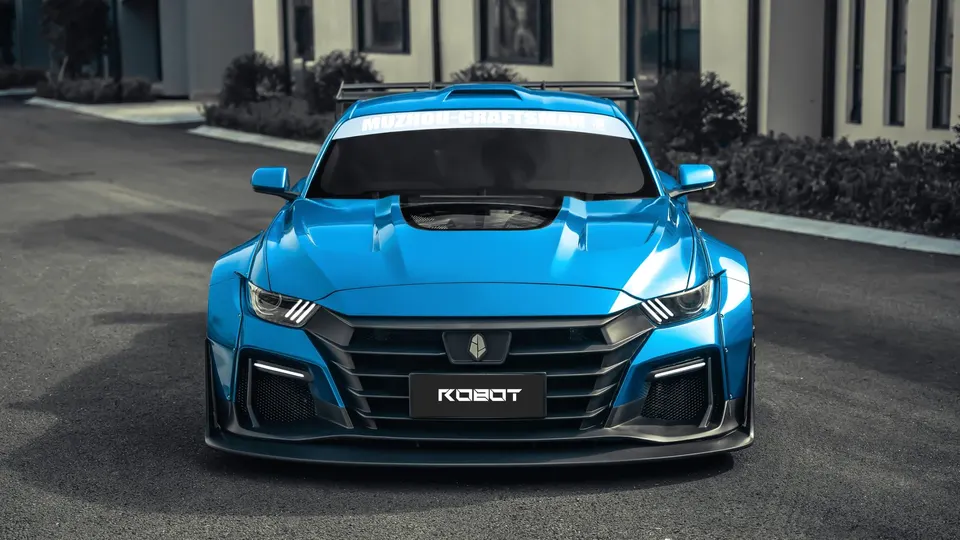

Ford Mustang S550 Dawn Widebody Kit
Ford Mustang S550
FRP $5,986 / Carbon $8,700

